Studying for clinical anatomy is always a big hurdle for dental and medical students. Even though it is a lot of information, you can absolutely get through it with a good strategy. Here is step-by-step how I approached my clinical anatomy course from the classroom to the lab. Using this method, I made clinical anatomy not only more manageable — but even more fun!

Clinical Anatomy Step 1: Watch Lectures
You’ll be learning a lot of content very quickly, so staying on top of your lectures is key to doing well in anatomy. Personally, I prefer to watch content asynchronously because I can pause to look things up when I need to. But, if you know that you’ll fall behind that way, going to class in person could be better.
Because time is always tight, you don’t want to have to rewatch the lecture multiple times. Take the best notes that you can the first time, so you won’t have to rewatch the lecture. It’s also comforting to know that all the information you need is in your notes and that nothing is left out.
Clinical Anatomy Step 2: Synthesis of Concepts and Active Recall
Watching the lecture gives you the gist of the information, but now it’s time to really learn it.
First, write down the learning objectives for the lecture. This will show you exactly what the professor wants you to take away. I put mine as a heading in notion so that they stand out.
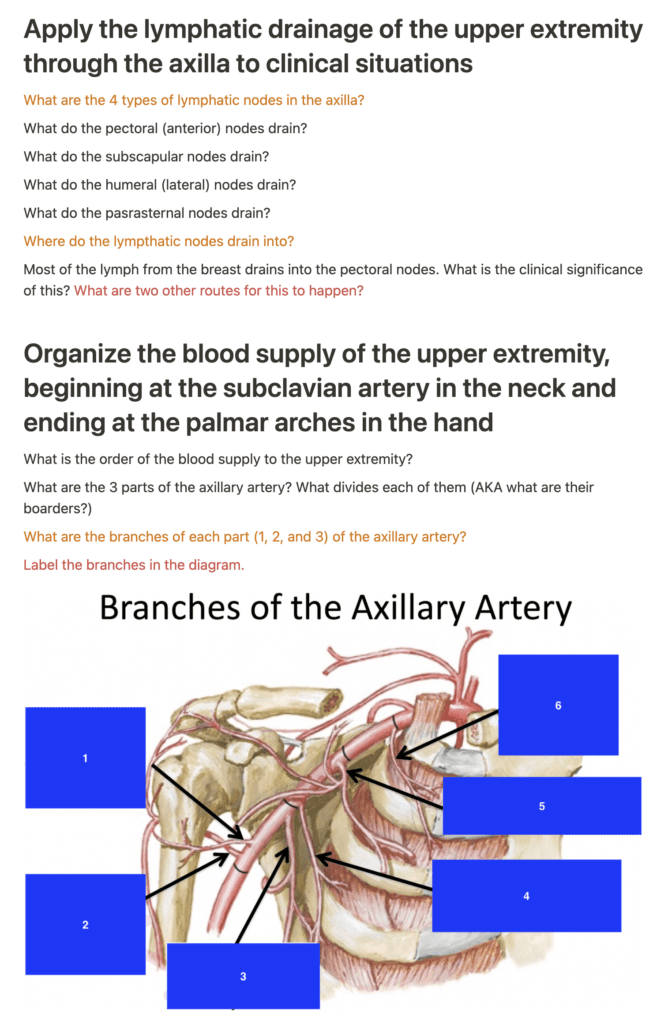
Then, following your notes, write questions that break down the learning objectives. The questions you write out should encompass all aspects of the learning objective, so it’s very obvious what you don’t understand if you can’t answer it. I also recommend adding diagrams with the tags covered to help with labeling.
RELATED POST: How to Study Effectively for College Science Courses
To save time, I don’t write answers to my questions. The questions are generally in the same order as the lecture, so I just keep my slides next to me while I study. But, you can write answers to them if you prefer.
As you write your questions, make sure to go back and continue to review them. This will help the material stick as you go. I also add extra information that isn’t in the lecture as a dropdown if there is something that I don’t understand.
You’ll end up with something like this:

You can also try using Anki or Quizlet to make flashcards, but for whatever reason, writing them in notion works best for me.
Once you feel good about answering your own questions and diagrams, move on to Michigan Blue Link. They have really amazing questions to quiz you. I found that their types of questions were about the same difficulty as my actual exams, so they really helped me prepare. They also have cadaveric images that can help you identify structures in the lab.
Clinical Anatomy Step 3: Go to Lab
Always go to the lab. It is always harder to identify structures in a real body than on a diagram. So, if you’ve never looked at the body before, it will be impossible to identify or explain things on the exam.
For the lab, you have to come prepared. Come with at least one other person because it goes way more efficiently if someone can help you dissect or can identify something that you can’t.
Set a goal of one region for yourself for the day. Study it the best you can before you come in and use a structures list to make sure you can find everything that you need to. This will help you stay focused and keep you from wasting any time or getting overwhelmed.
Conclusion
Clinical anatomy is definitely a challenging course, but hopefully, with these steps, you’ll get through it with ease. Depending on your schedule, you might need to go a bit out of order, but in the end, you’ll always be able to learn it. Remember to pace yourself, anatomy is important but so is self-care!

